Coils & Pods
Optimize Your Vaping Experience with Quality Coils from Premiumvape.se
Coils, the heart of every e-cigarette, play a crucial role in ensuring an optimal vaping experience. To maintain a consistent and fresh taste, it’s important to regularly replace these components. At premiumvape.se, we understand the importance of quality and reliability, which is why we offer a wide range of coils from the most reputable brands in the industry.
Why is Regular Replacement of Coils Important?
The frequency of changing coils varies depending on usage and personal preferences. Regular replacements guarantee that your e-cigarette always delivers a clean and rich flavor. We recommend always having spare coils on hand, so you can continue to enjoy your vaping experience without interruption.
Our Range of Coils and Pods
At Premiumvape.se, we are proud to offer an extensive selection of vape coils and pods from the most distinguished brands in the industry. Each brand brings its unique expertise and innovation, ensuring that our customers always have access to the best in vaping.
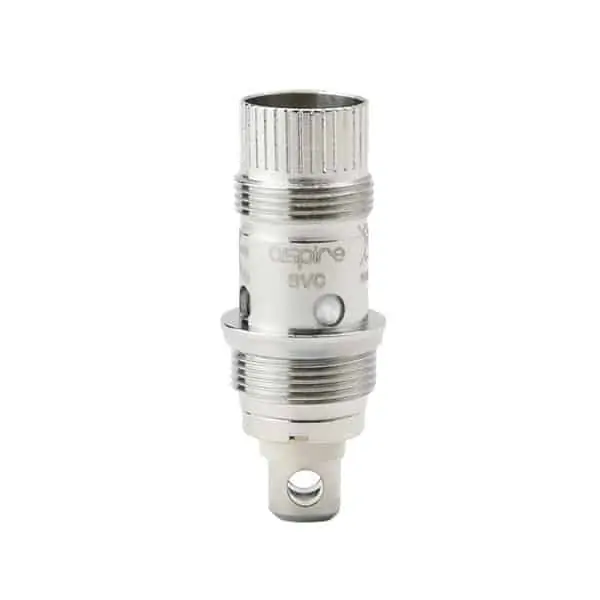
Aspire – The Pioneers of Vaping
Aspire, known as one of the oldest brands in vaping, remains highly relevant today. We stock popular products such as Nautilus, BVC, Cleito, and Pockex, all known for their quality and reliability. These products are ideal for vapers seeking both dependability and performance.
Eleaf – Diversity and Quality
Eleaf is renowned for its wide variety of kits, tanks, and pods. In our range, you will find a broad array of Eleaf products, including coils and pods for HW, EC, EC2, GTL, GS, and many more. Eleaf stands for innovation and quality, making their products an excellent choice for vapers at all levels.
Geekvape – Power and Flavor
Geekvape, famous for their powerful mods and flavorful tanks, also excels in wire manufacturing. We have a wide assortment of Geekvape wires such as Kanthal, ni200, and clapton wires, perfect for vapers who prefer to build their own coils. Geekvape is synonymous with strength and quality.
Joyetech – A Reliable Classic
Joyetech is best known for their eGo Aio, a timeless classic that remains popular. Ideal for those transitioning to e-cigarettes, we offer a full range of BF coils in various resistances, ensuring a customized vaping experience.
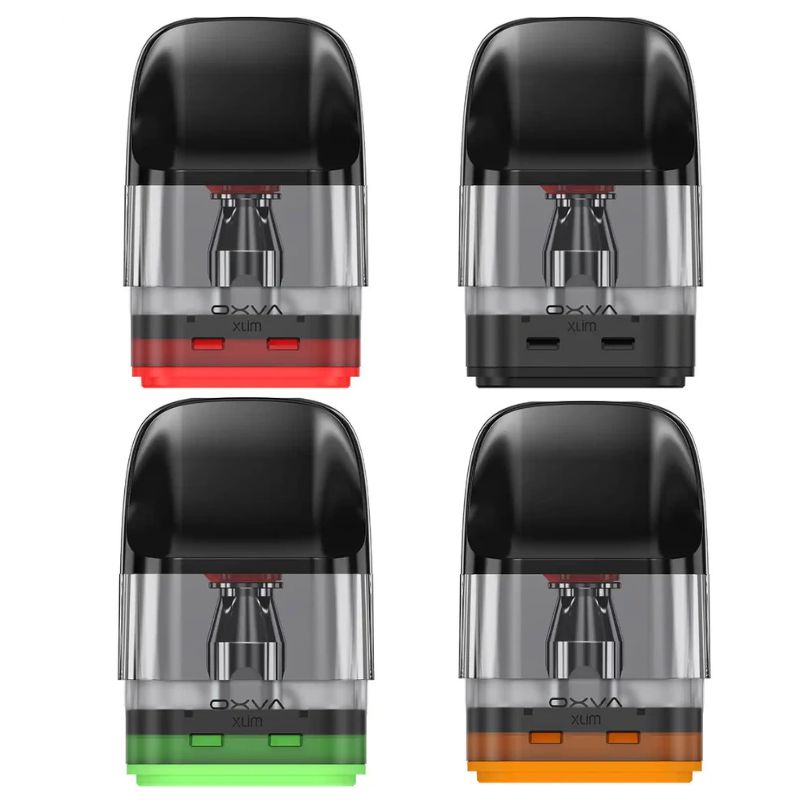
Oxva – Innovation and Efficiency
Oxva, a newer brand on the market, has impressed with its Xlim series. The difference between Xlim V2 and Xlim V3 lies in the refilling system, where V3 allows smoother top filling. We offer both versions, providing vapers with flexibility and convenience.
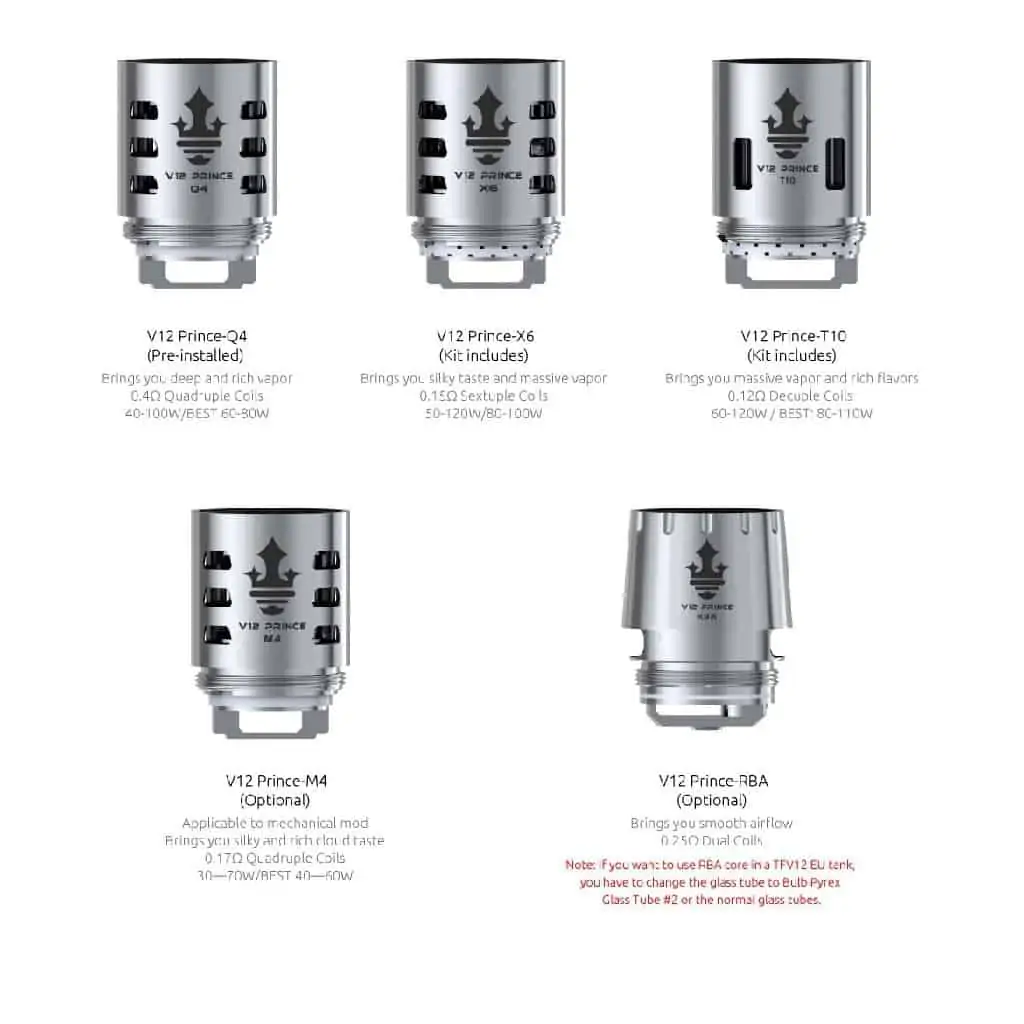
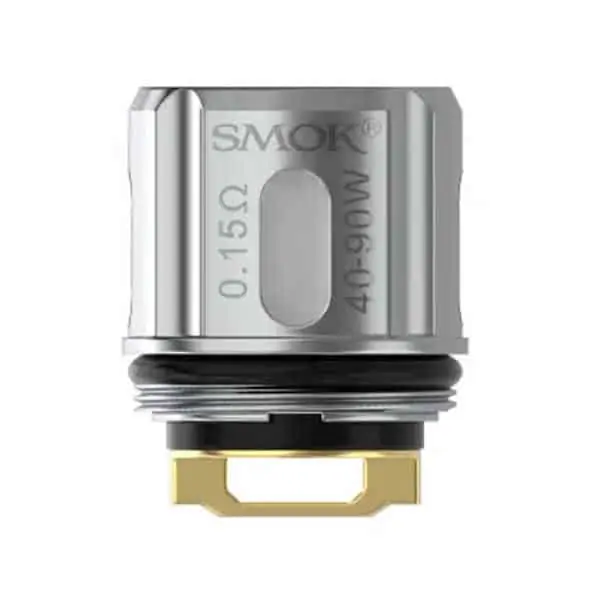
SMOK – A Giant in the Vaping World
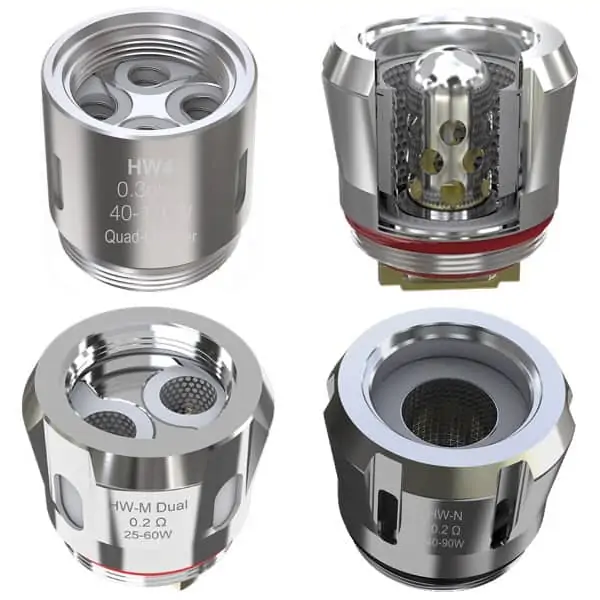
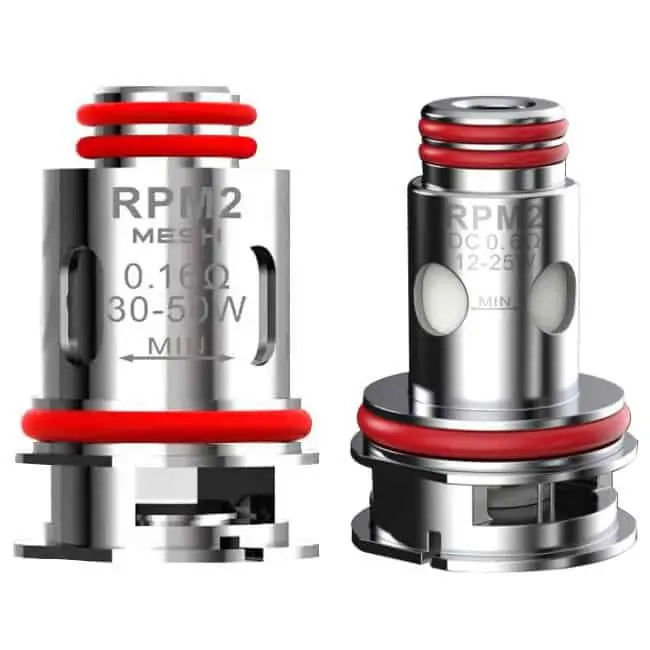
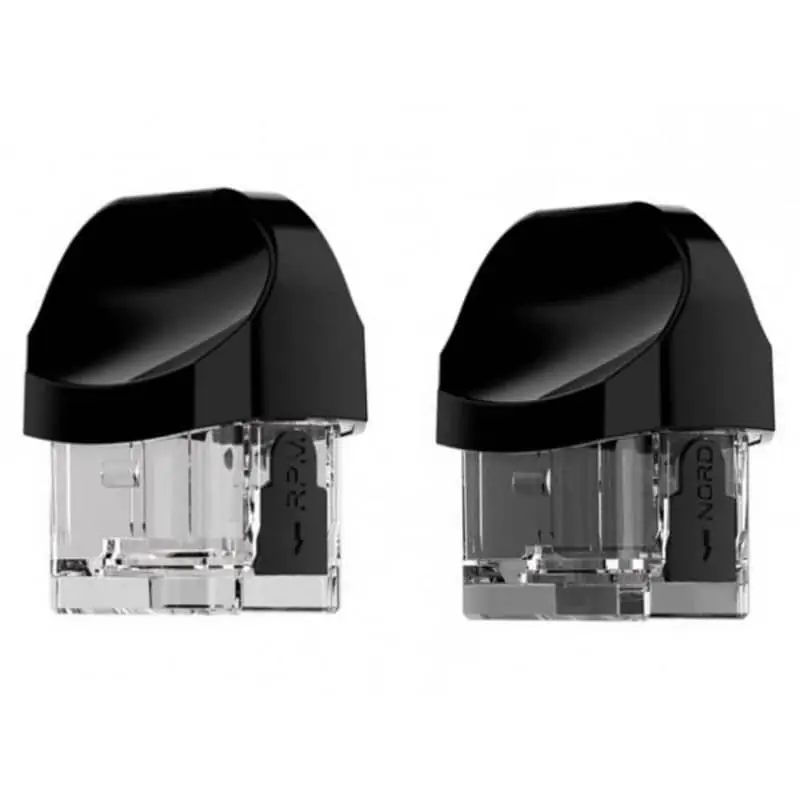
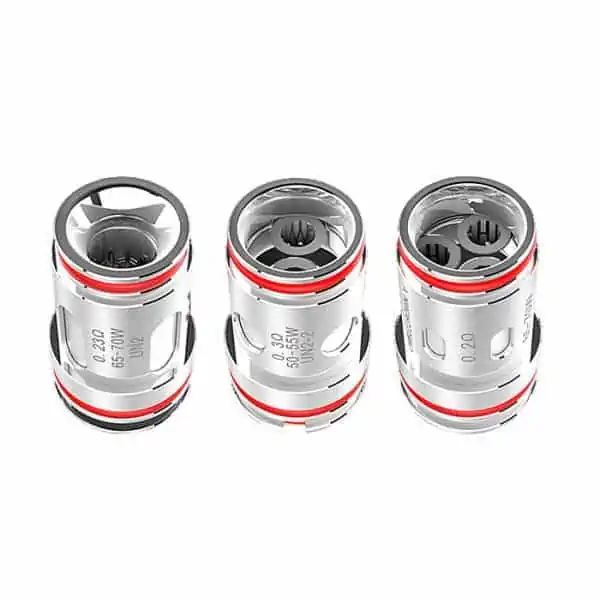
SMOK, also known as Smoktech, is one of the oldest and largest vape companies. With constant new releases, we offer a wide array of coils, including V12 Prince, TFV16, Nfix Pods, RPM, and Nord. With SMOK, you gain access to a world of choices and innovation.
Uwell – Groundbreaking and Successful
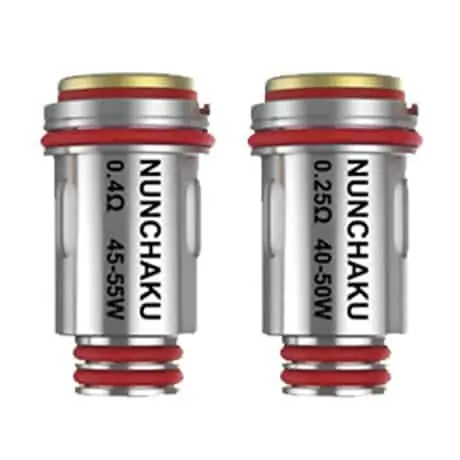
Uwell has had great success with its e-cigarettes, particularly with the Nunchaku kit. Their latest success is the Caliburn series, which has dominated the pod segment. Here, you will find a wide range of both pods and coils, including Nunchaku coils and the Caliburn series.
Vandy Vape – Specialists in Wires and RBA
Like GeekVape, Vandy Vape specializes in wires and RBA. We stock a complete range of Vandy Vape wires and their famous Mesh coils, perfect for the legendary Kylin tank.
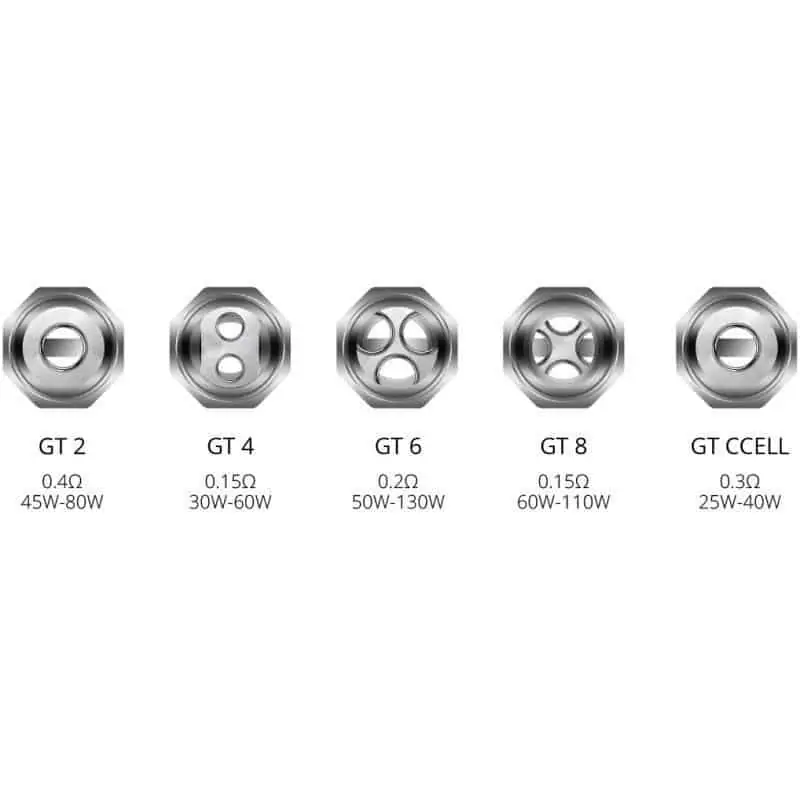
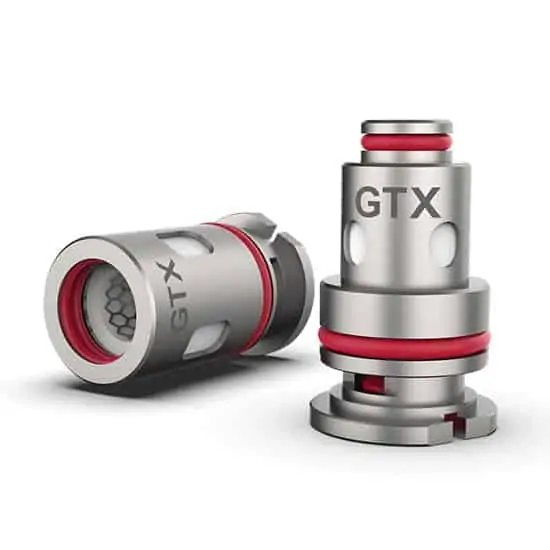
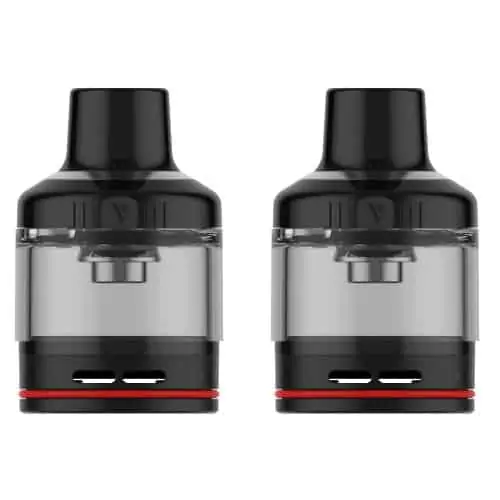
Vaporesso – Synonymous with Quality
Vaporesso is one of the leading producers of e-cigarettes and is known for its high-quality standards. We offer a wide range of Vaporesso coils suitable for various devices, which is not only convenient for users but also benefits the environment. Our range includes GT Coils, GTI, GTX, QF, Xros pods, GTR, LUXE XR, and several others.
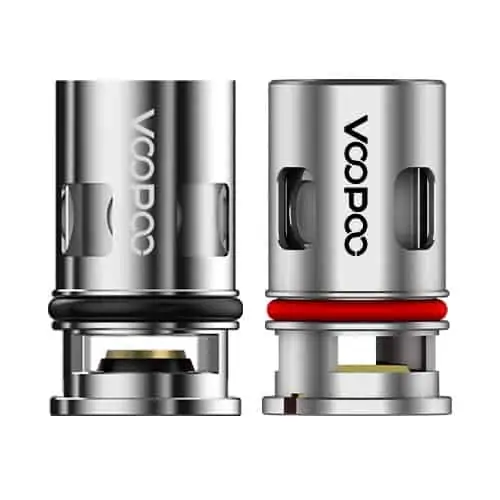
VooPoo – Quality and Innovation
VooPoo has become known for its high-quality and innovative products. We offer their most popular PnP-VM coils, as well as the newer PnP-TW series, ensuring that our customers always have access to the latest and greatest in vaping.
These brands are carefully selected for their high standards of quality and innovation. No matter what type of vaping experience you are seeking, we have the right product for you.
Enhance Your Vaping with the Right Coils
Choosing the right coils can make a significant difference in your vaping. Whether you prefer denser vapor production or a more intense flavor, you can find the perfect match with us. We offer coils that suit all types of e-cigarettes, from beginner models to more advanced systems.
Showing 1–50 of 75 results
-
Vaporesso GT-Coils 3-pcs
139 kr – 149 kr Select options -

Oxva Xlim V3 Pods 2ml (3pcs)
159 kr Select options -
Vaporesso GTX Coils (5pcs)
169 kr Select options -
Aspire Nautilus BVC Coils 5pcs
129 kr – 149 kr Select options -
SMOK V12 Prince / P-Tank Coils 3pcs
159 kr – 249 kr Select options -

Vaporesso XROS Pods 2/3ml (4pcs)
179 kr Select options -
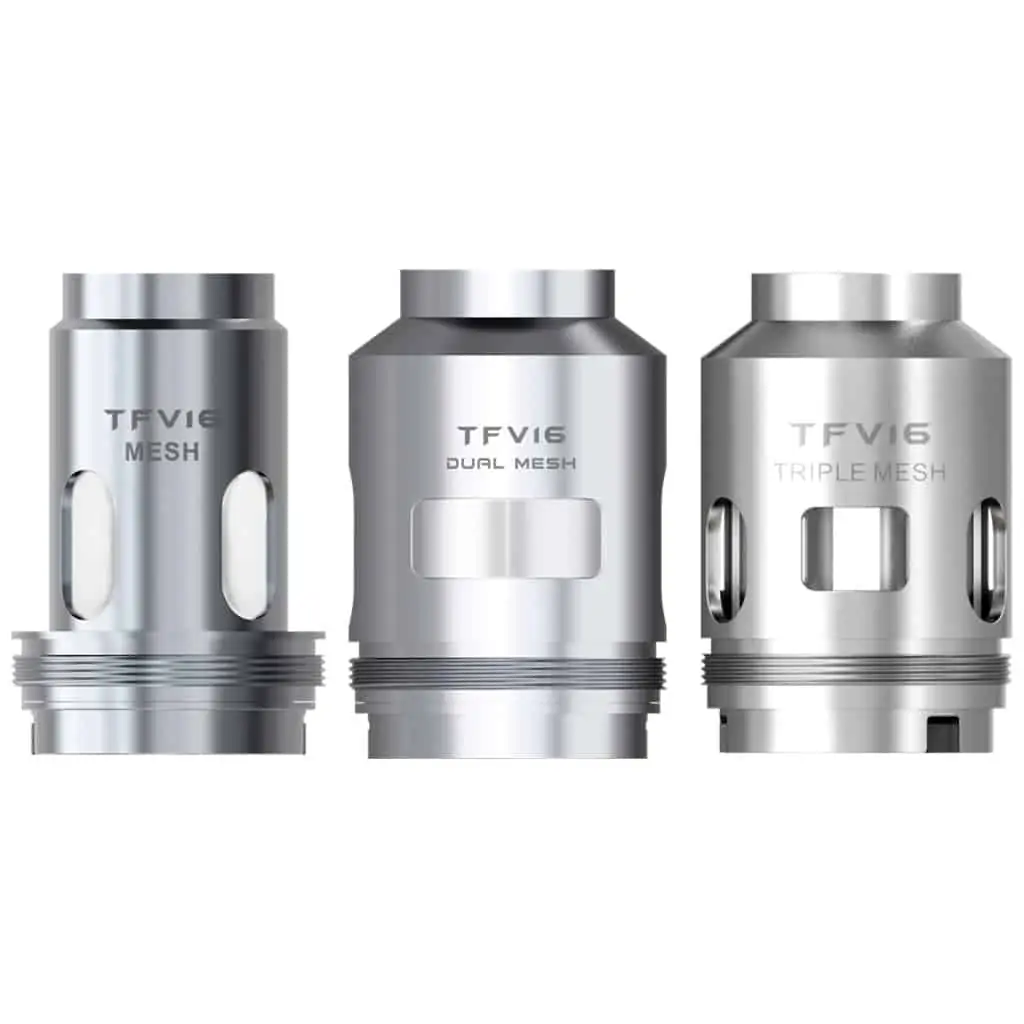
SMOK TFV16 Mesh Coils 3pcs
159 kr – 179 kr Select options -
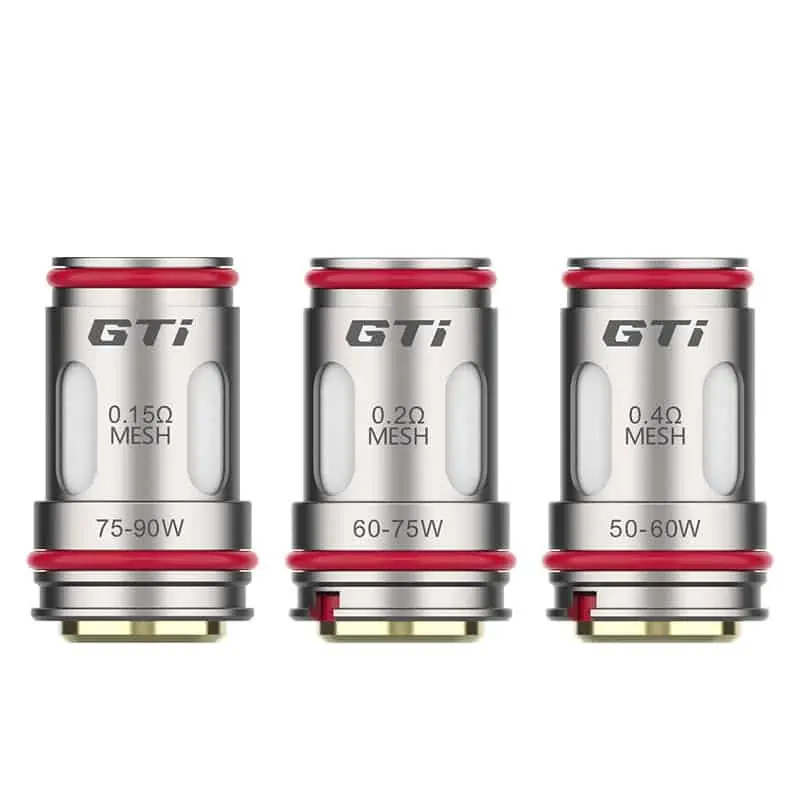
Vaporesso GTi Coils (5pcs)
189 kr Select options -

Joyetech BF Coils 5pcs
129 kr Read more -

SMOK Nfix Pods 3ml (3pcs)
139 kr Add to cart -
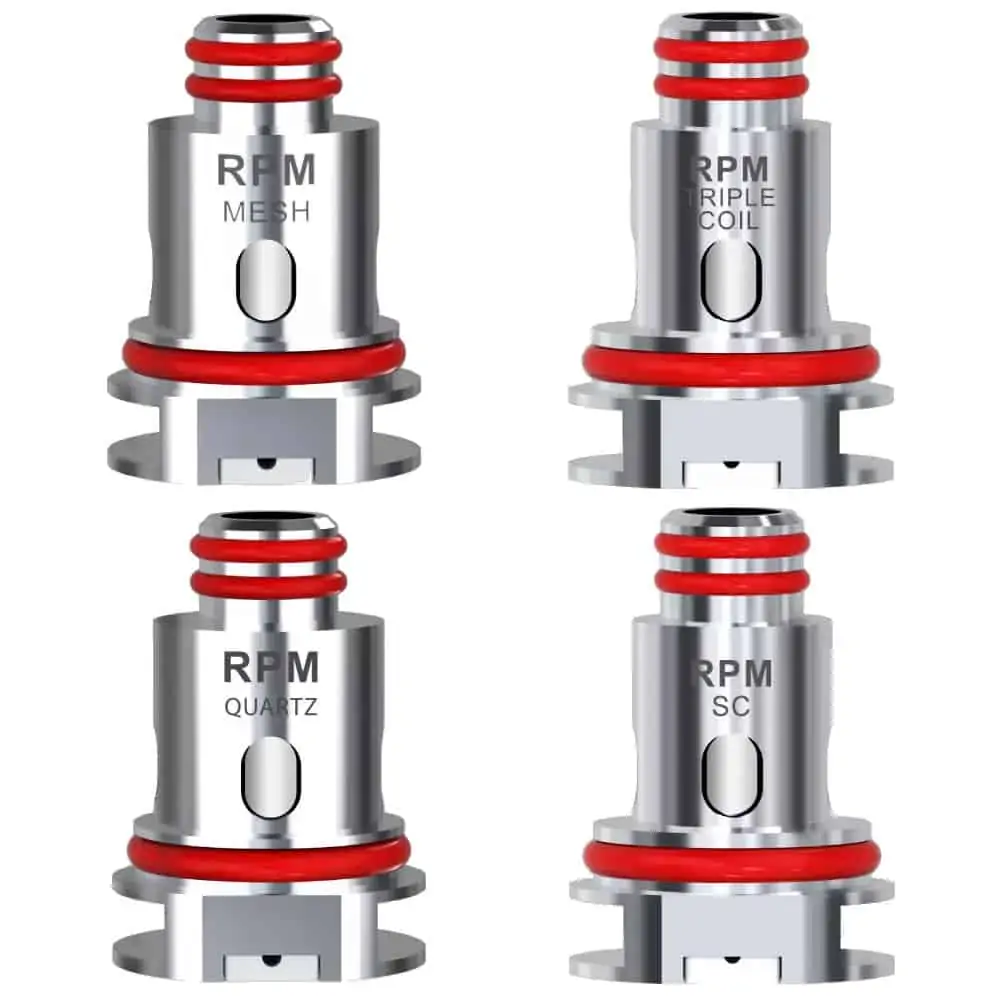
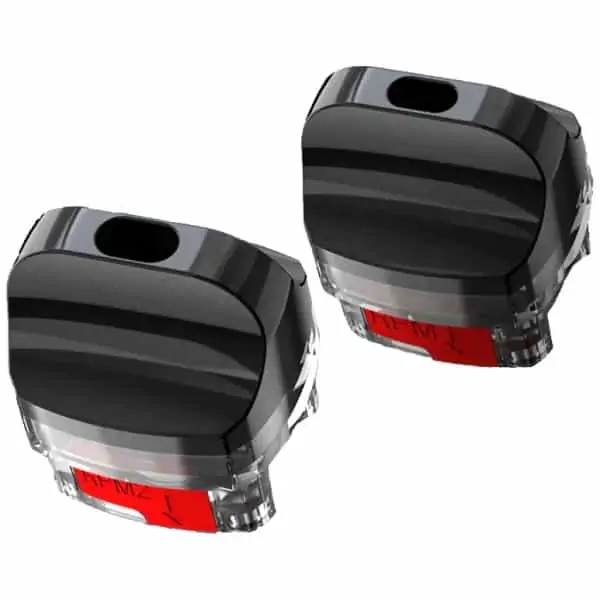
SMOK RPM Coils (5-pcs)
199 kr Select options -

SMOK Baby V2 Coils (3pcs)
129 kr – 149 kr Select options -
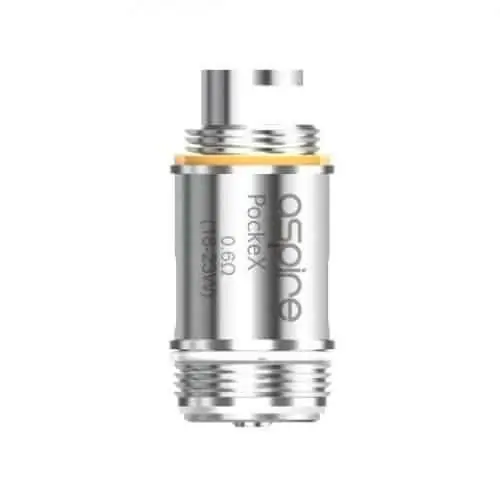
Aspire PockeX Coil 5-pcs
189 kr Select options -
Vaporesso QF Coils – 3pcs
139 kr Select options -
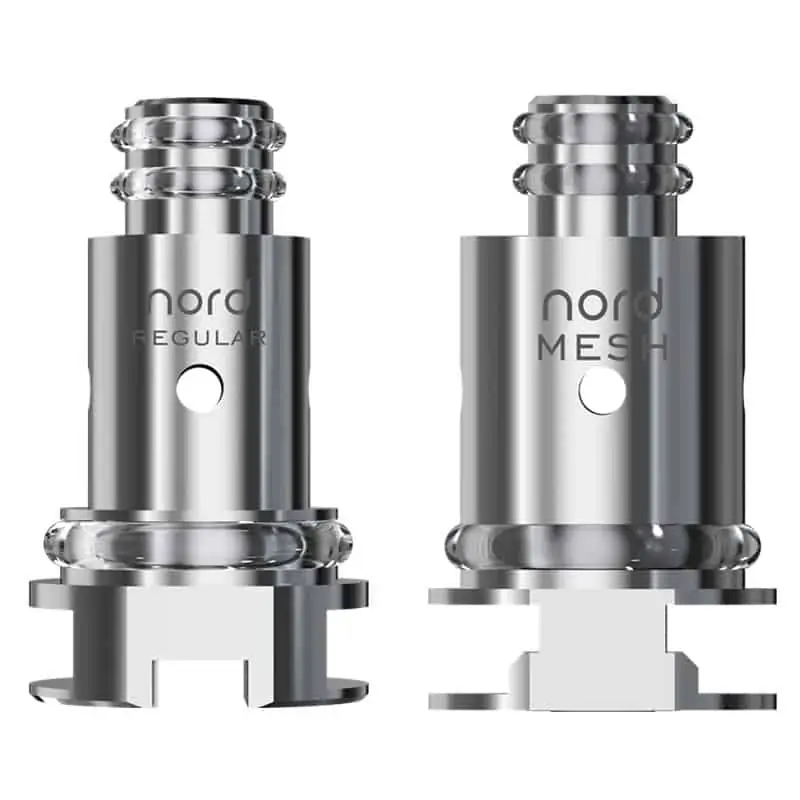
SMOK Nord Coils (5-pcs)
159 kr – 179 kr Select options -
Aspire BVC Coils 5pcs
99 kr Select options -
VooPoo PnP-VM Coils 5pcs
229 kr Select options -
Uwell Caliburn Pods 2ml (4pcs)
169 kr Select options -
Eleaf HW Coils 5pcs
159 kr Select options -
Uwell Nunchaku Coils 4pcs
159 kr Select options -

SMOK V8 Baby Coils 5pcs
219 kr – 259 kr Select options -
SMOK RPM 2 Coils (5pcs)
219 kr – 229 kr Select options -

Eleaf EC Coils (EC/EC2/EC-N/EC-M) 5pcs
159 kr Select options -

Uwell Caliburn A2 / AK2 Pods (2ml, 4pcs)
179 kr Add to cart -
SMOK TFV9 Coils (5pcs)
229 kr Add to cart -

VooPoo VMATE V2 Pods (2pcs)
89 kr Select options -
SMOK Nord 2 Pods (3pcs)
79 kr Select options -
Vaporesso GTX POD 26 (5ml, 2-pack)
99 kr Read more -

Cotton Bacon Prime
69 kr Read more -
Oxva Xlim EZ Pods 2ml (3pcs)
169 kr Select options -
Uwell Caliburn G/G2 Coils (4pcs)
149 kr Select options -

Vandy Vape Kylin M Coils (10pcs)
69 kr Select options -
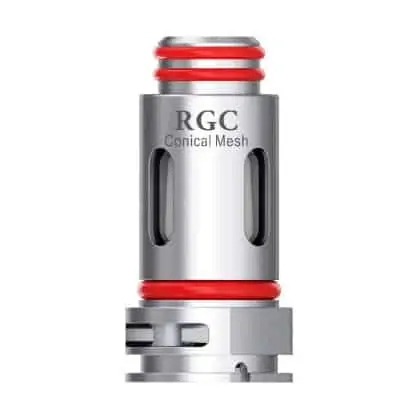
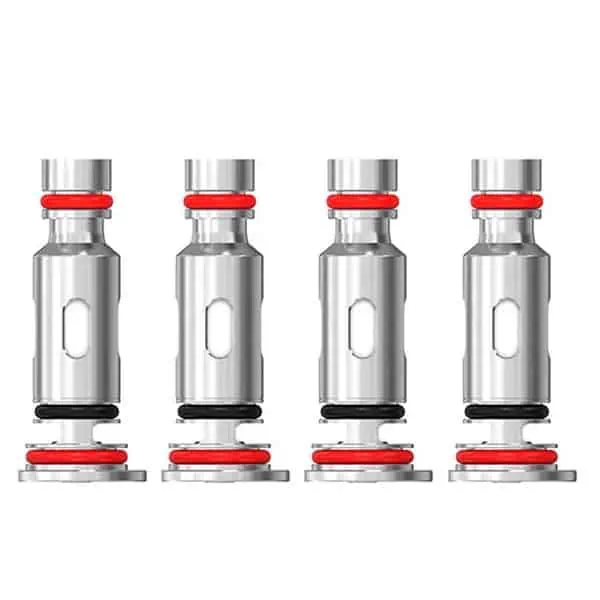
SMOK RGC Coils 5pcs
229 kr Add to cart -

VONT ONE Pods (3×1ml, 20mg/ml)
39 kr Select options -
Eleaf GTL Coils 5pcs
139 kr – 169 kr Read more -
VooPoo PnP Pods (2pcs)
89 kr Select options -
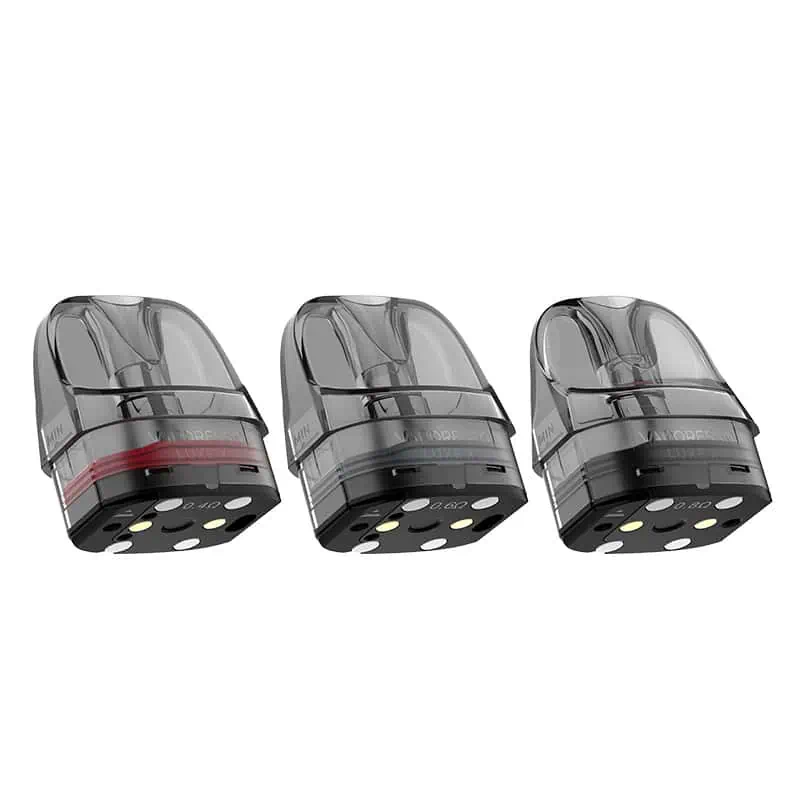
Vaporesso LUXE X / XR Mesh Pod (2-pcs)
99 kr Select options -
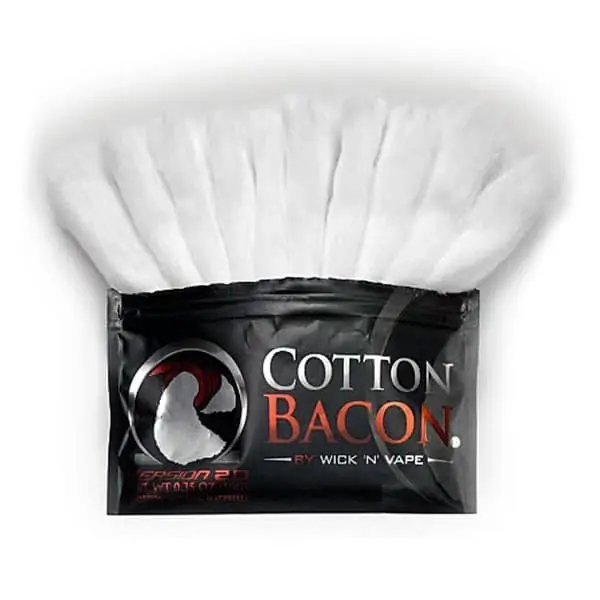
Cotton Bacon V2
59 kr Read more -
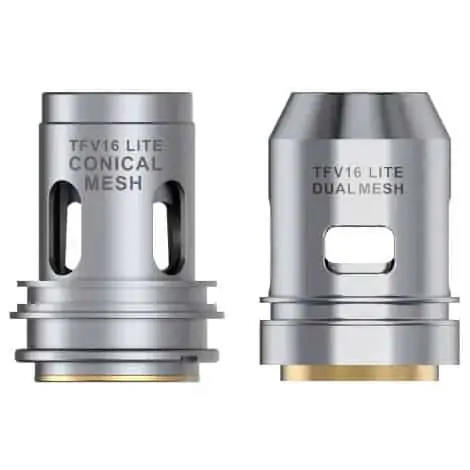
SMOK TFV16 Lite Coils 3pcs
189 kr Select options -
SMOK RPM 2 Pods 7ml (3pcs)
99 kr Select options -
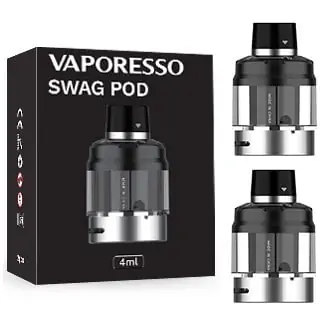
Vaporesso SWAG PX80 Pods (4ml, 2pcs)
129 kr Add to cart -

SMOK TFV8 Coils 3pcs
139 kr – 229 kr Select options -
Uwell Caliburn A3 / AK3 Pods (2ml, 4pcs)
199 kr Add to cart -
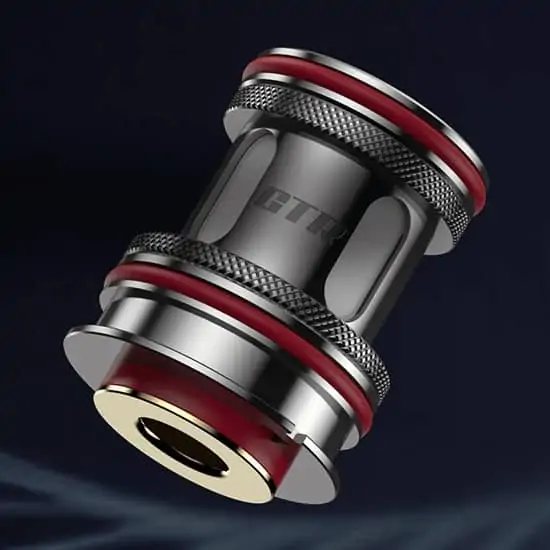
Vaporesso GTR Coils (3pcs)
149 kr Read more -
Uwell Crown V Coils (4pcs)
149 kr – 199 kr Read more -
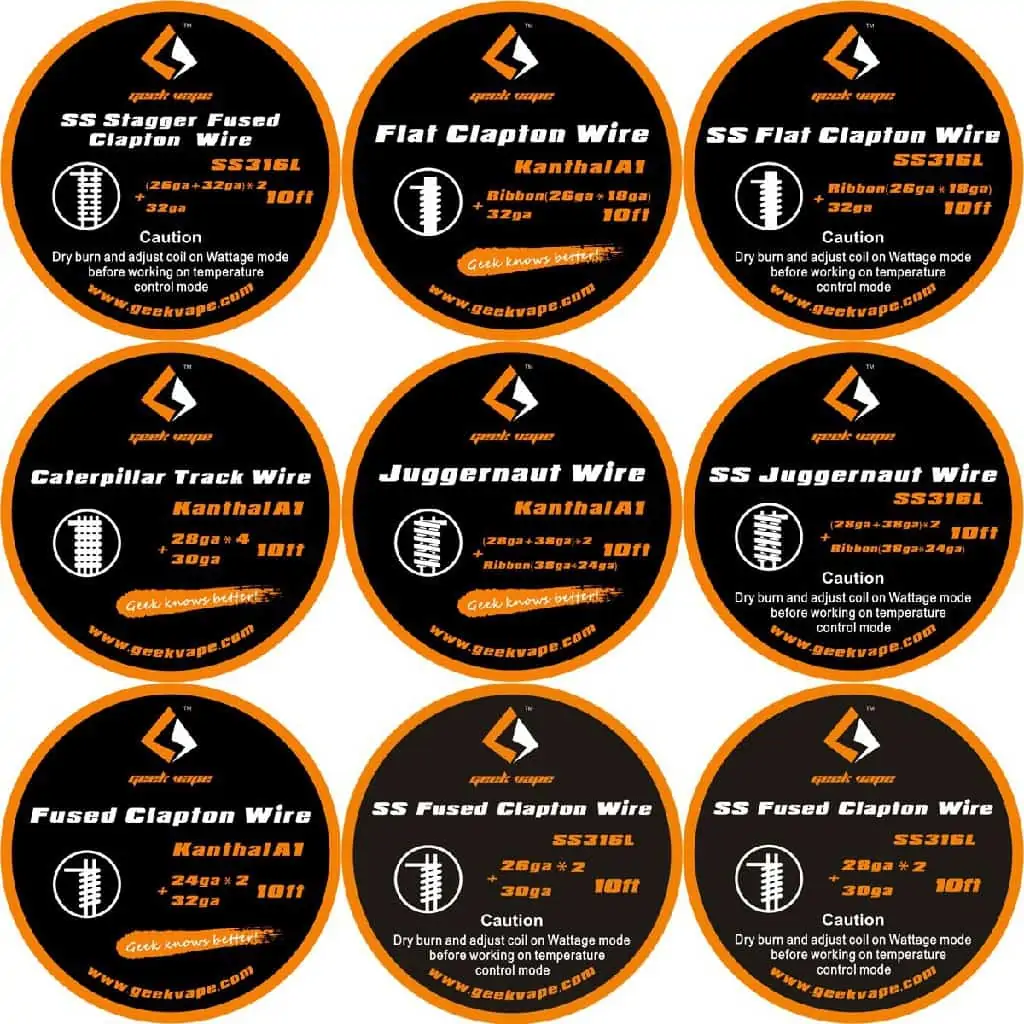
GeekVape Clapton Wires
59 kr – 79 kr Read more -
Uwell Caliburn G2 Pods (2ml, 2pcs)
89 kr Add to cart -

SMOK TFV8 Baby-M2 Coils 5pcs
219 kr Select options -
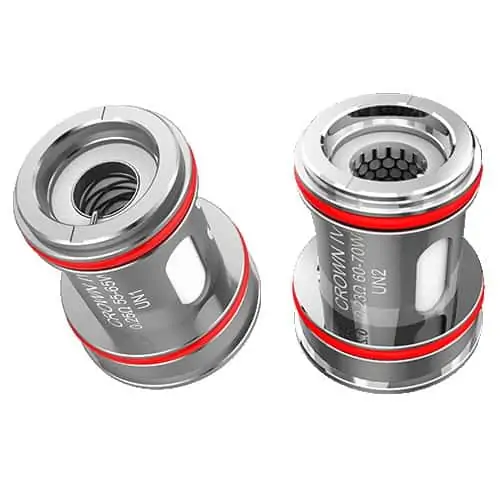
Uwell Crown IV Coils (4pcs)
179 kr Read more -
Smoant Pasito Coils (3-pcs)
119 kr Select options
Showing 1–50 of 75 results
Discover Our Premium Collection of Coils for E-Cigarette Vaporizers
Welcome to our specialized section of coils for e-cigarette vaporizers at premiumvape.se. A coil is the heart of your vaporizer, responsible for converting e-juice into the rich vapor that defines your vaping experience.
When and Why to Change the Coil in Your E-Cigarette
You’ll quickly notice when it’s time to replace your coil. If your vape suddenly tastes burnt and smoky, similar to a regular cigarette burning down to the filter, it’s a clear indicator that your coil needs to be replaced. A fresh coil guarantees a clean, satisfying taste and is crucial for an enjoyable vaping experience.
Why Your Coil Tastes Burnt: Common Causes and Solutions
Experiencing a burnt taste from your coil can be frustrating. Here we illuminate the most common causes and how you can address the issue.
- Chain Vaping: Cause and Solution
Chain vaping, i.e., taking multiple puffs in a row without breaks, is a common reason for coil burnout. It doesn’t give the cotton time to absorb the e-juice, resulting in it drying out and burning. Waiting about 30 seconds between puffs gives the cotton time to rehydrate. For former heavy smokers, a higher nicotine content in the e-juice can help reduce the frequency of puffs. - Priming the Coil
Using a coil that is not properly primed can also lead to a burnt taste. Ensure you have the right one and its recommended wattage setting. Drip e-juice onto it and allow it to absorb the liquid properly, at least fifteen minutes, before use. - Vaping with Higher Power than Recommended
Using a higher wattage setting than your coil is intended for can quickly burn the coil. Even for devices with variable power, you should keep it at an average. It might be tempting to try a higher setting, but for the sake of your coil, stick to the mid-temperature range. - Low Level of E-Juice in the Tank
Letting the tank get nearly empty before refilling can damage the coil. The cotton does not get enough e-juice to absorb, resulting in a burnt taste. It’s important to keep an eye on the e-juice level and refill in time. - Choice of E-Juice
E-juices with high VG content (vegetable glycerin) and high sugar content are often guilty of quickly burning out coils. VG is thicker than PG (propylene glycol) and harder for the cotton to absorb, which can lead to faster burning of the coil, especially in MTL (Mouth-To-Lung) devices. Opt for e-juices with lower VG content to extend the coil’s lifespan.
Preventive Measures for Optimal Vaping Experience
Always let your new coil be properly saturated with e-juice before first use. Keep an eye on the e-juice level in your tank and refill regularly. Choose e-juices that match your device’s specifications and your vaping style. Take regular breaks between puffs to allow the coil and cotton to recover.
Understanding Coils – The Heart of Your Vaporizer
A coil in an e-cigarette is more than just a component; it’s an innovative invention that transforms e-juice into vapor. It consists of a casing with absorbent cotton and one or more spirals which, when powered by the battery, heat up to create vapor. Each part of the coil, from the casing to the spirals, plays a critical role in your vaporizer.
Vaping Terminology: Coils, Core, and Coil Heads
In the world of vaping, the coil is sometimes referred to as “Core” or “Coil Head,” especially when referring to the entire unit including casing, cotton, and spirals. Although these terms can vary, the most commonly used denomination is “coils.” At premiumvape.se, we prefer simplicity and clarity in our communication.
Explore Different Types of Coils: Choose Right for Your E-Cigarette
In the world of vaping, the choice of coil is as important as the choice of e-cigarette. Just like with other parts of the mechanics of an e-cigarette, there’s a multitude of coils and burners to choose from.
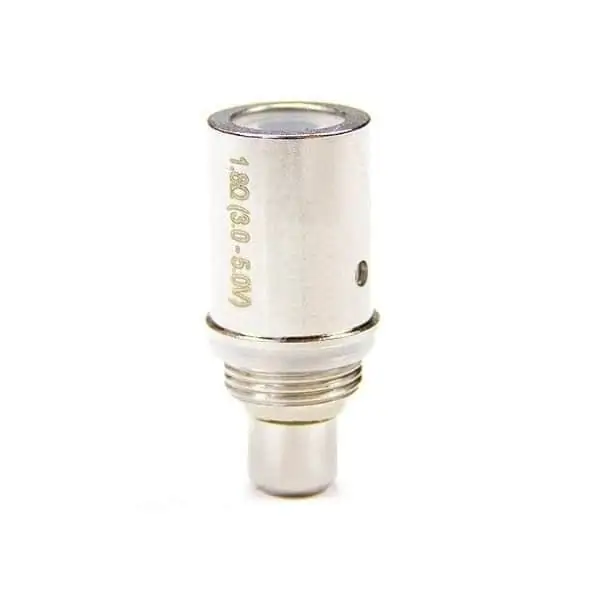
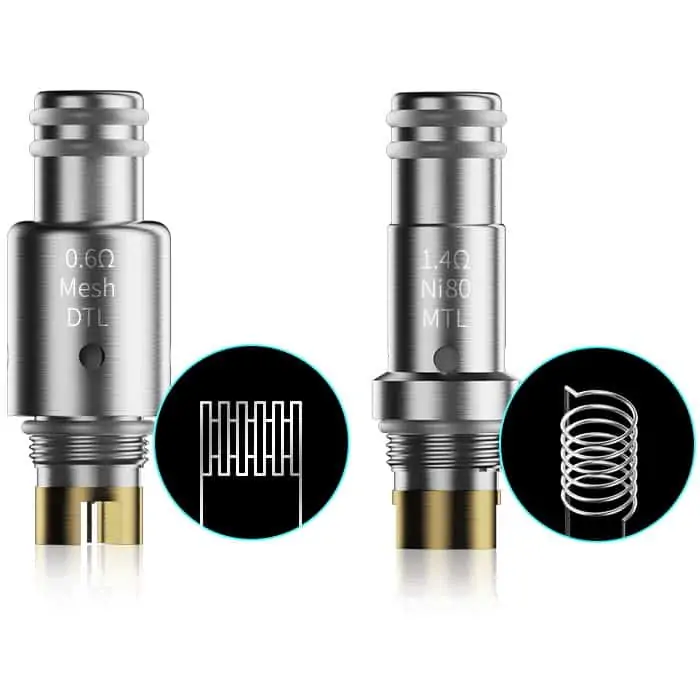
Standard Coil Heads: Easy-to-Use and Efficient
The most common type of coil is the pre-assembled burner, easy to screw in place in your vaporizer. These coil heads, specifically manufactured for different models of tanks, are ideal for those who value convenience and efficiency. Each coil head has a built-in spiral and cotton, carefully designed to fit your vape model. Ensure you choose the right kind for your device for the best possible experience.
BVC Coils: For Increased Vapor Production and Flavor Experience
BVC, or Bottom Vertical Coil, is a popular variant that offers a larger surface area against the cotton. This design allows for more vapor production and a more intense flavor experience. BVC are an excellent choice for those who prefer a richer and deeper vaping experience.
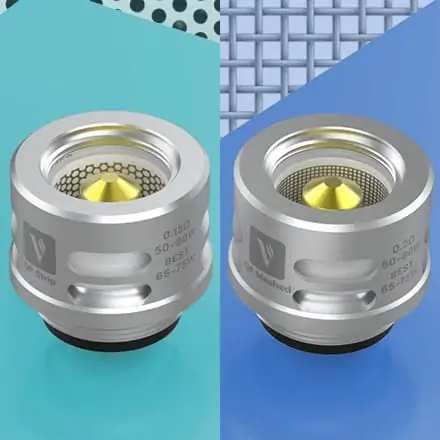
Mesh Coils: The Most Popular Option
Mesh represent a modern innovation in heating technology for e-cigarettes. The difference lies in their unique design, where traditional wire spirals are replaced with a fine mesh metal plate. This net-like structure offers several significant advantages for your vaping experience.
Efficient and Even Heating for Enhanced Flavor
One of the biggest advantages of Mesh coils is their ability to offer a larger and more even heating surface. When Mesh comes in contact with e-juice, heating occurs faster and more efficiently. This results in a more powerful flavor profile, making each vaping experience more intense and satisfying.
Even Absorption and Enhanced Vapor Production
Mesh also excel in their ability to evenly absorb e-juice across the entire surface. This minimizes the risk of dry hits – a common problem with traditional coils. The result is a consistent and rich vapor production that enhances your vaping.
Longer Lifespan for Increased Durability
Another significant advantage of Mesh is their longer lifespan compared to traditional Kanthal-based. The Mesh design contributes to minimized deposit buildup, which in turn prolongs the time between coil changes. This means that Mesh are not only more efficient but also more economical and durable over time.
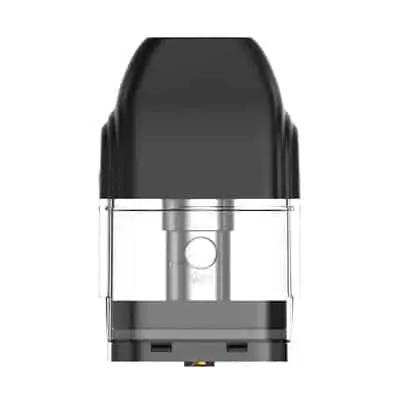
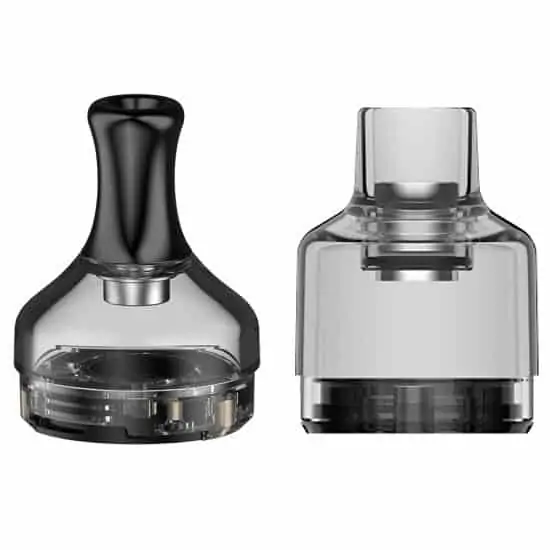
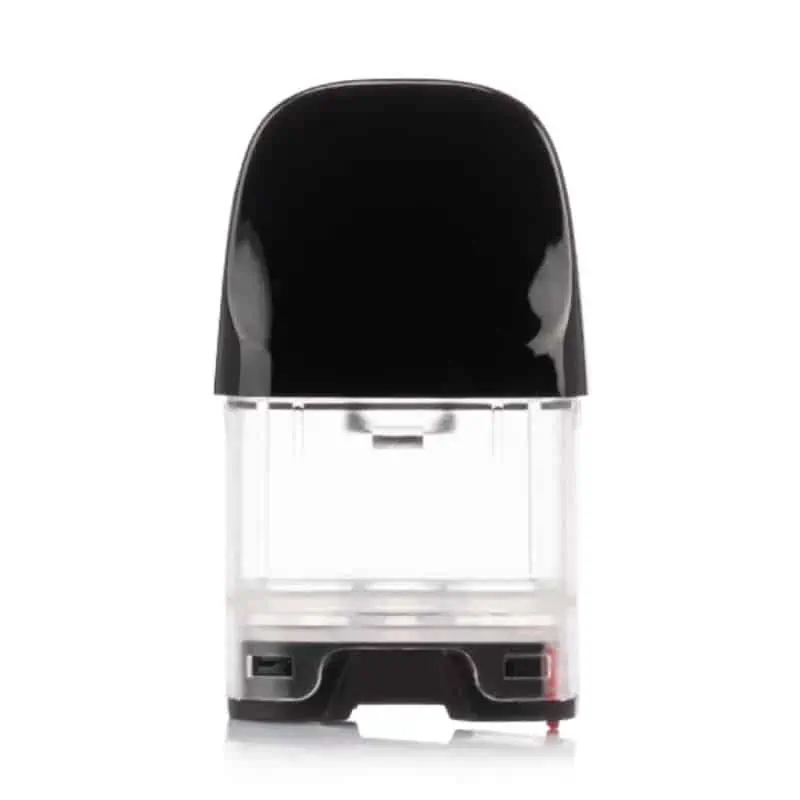
Explore Pods: The Smooth Path to Vaping
Pods have quickly become a favorite among vapers worldwide, thanks to their simple and smooth usage. At premiumvape.se, you’ll find a wide range of pods that perfectly fit both beginners and experienced vapers. Let’s dive into what makes pods such a revolutionary product in the world of vaping.
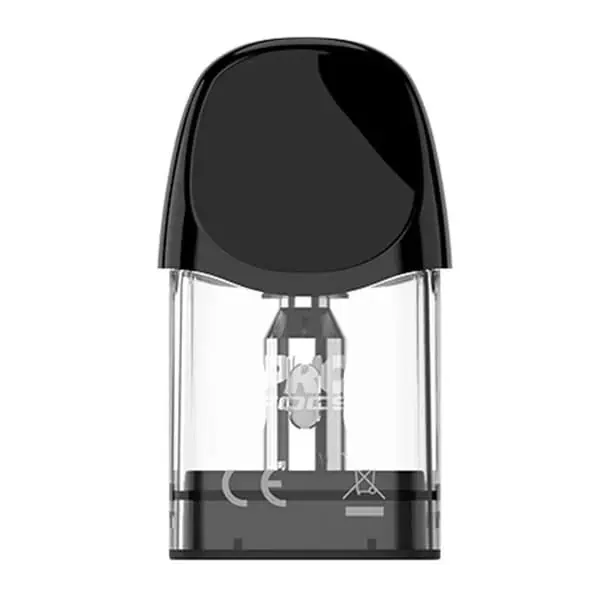
What is a Pod?
A pod is essentially a small plastic tank that often contains a built-in coil, although there are variants with replaceable coils. You simply fill it with your chosen e-juice and start using it right away. The simplicity of its design allows you to vape without hassle, and when the flavor starts to wane, you just swap out the pod for a continued enjoyable vaping experience. We offer pods from leading brands such as Oxva, Uwell, Vaporesso, and SMOK, ensuring you receive products of the highest quality.
Prefilled Pods from Voom: The Ultimate Convenience
For those seeking even simpler solutions, we have prefilled pods from Voom. These pods are an excellent choice for vapers who prefer convenience without compromising quality. Choose from 10 different flavors and easily swap out your pod when it’s finished. Prefilled pods eliminate the need for refilling and maintenance, making them perfect for an active lifestyle.
RBA Coils: For the Enthusiastic Vaper
For those who prefer a more hands-on experience, RBA (Rebuildable Atomizer) are available. These allow you to customize your vaping by selecting and assembling the coils and cotton yourself. This customizable method is perfect for experienced users who want full control over their vaping experience. RBA are often used in RDA’s (Rebuildable Dripping Atomizers) or RTA’s (Rebuildable Tank Atomizers) and come in a variety of designs, each with its own unique properties and advantages.
The Importance of the Right Coil for Your Vaping Experience
The type of coil you choose can greatly impact your vaping experience. It’s important to consider your personal style and what you expect from your vape. Whether you prefer the simplicity of a ready-made head, the intensity of a BVC, or the customizability of an RBA, we at premiumvape.se have the right option for you.
Create Your Own RBA Coil: A Guide for Experienced Vapers
Building your own coil has become increasingly popular within the vaping community. RBA (Rebuildable Atomizer) coils offer a unique opportunity to tailor your vaping experience. However, it’s important to note that constructing your own requires careful knowledge of Ohm’s law and battery safety. It’s a complex process that is primarily recommended for experienced users.
Basic Components of an RBA Coil
An RBA is constructed from the ground up with resistance wire and cotton. The resistance wire determines the coil’s performance and affects how quickly it heats up the vape liquid. Some of the most common types of resistance wire include:
- Kanthal (KA)
- Nichrome (N80)
- Stainless Steel (SS)
- Nickel (Ni)
- Titanium (Ti)
Choosing the Right Resistance Wire for Your Coil
The choice of resistance wire is crucial for the performance. The resistance (measured in ohms) determines the ‘ramp-up time’ – the time it takes for the coil to heat up and turn the vape juice into vapor. Lower resistance means a quicker heating time. It’s important to note that the wire’s diameter affects its resistance; a thinner wire results in higher resistance.
Essential Equipment for Building Your Own RBA Coil
Building an RBA (Rebuildable Atomizer) coil is a process that requires the right tools and materials. Here is a list of essential equipment needed to get started on creating your own custom coil:
- Resistance Wire: Choose from various types such as Kanthal, Stainless Steel, Nickel, Nichrome, or Titanium. Each material has unique properties that affect your coil’s performance.
- RDA (Rebuildable Dripping Atomizer): This is where you will attach your coil and cotton. An RDA gives you the freedom to experiment with different coil constructions.
- Wire Cutters: Jewelry-making wire cutters are ideal, as they can reach and cut the resistance wire in tight spaces.
- Tweezers: Used for adjusting and pinching your coils for optimal performance.
- Small Metal Rod: A small screwdriver or similar tool is necessary for shaping and adjusting.
- Organic Cotton: Unbleached cotton is preferred for wicking. You can also choose other wicking materials that suit your preferences.
- Scissors: Used for cutting and trimming the cotton to the right size and shape.
- Ohm Meter: An essential tool for measuring the resistance, which is crucial for a safe vaping experience.
- Mod (vape device): Once your RDA and coil are ready, you attach it to your mod. The choice of mod can affect the performance and should be selected based on the desired experience.
Why the Right Equipment Is Important
Having the right tools is critical for successful building. Proper use of these tools ensures not only that your product is safe to use but also that you get the best possible vaping experience. Each tool plays a specific role in the process and contributes to making your customized coil function as it should.
Step-by-Step Guide: Build Your Own RBA Coil
Building an RBA coil is an exciting process that lets you tailor your vaping experience. Follow these steps to create your own coil:
Step 1: Prepare Your Coils
Start by cutting two pieces of resistance wire, about 10 cm each. Use your wire cutters for precise cuts. Then, wind each wire piece around your screwdriver or metal rod, approximately 8 turns per piece. Be attentive to avoid gaps and overlapping during winding. Leave a few centimeters of wire on both sides of each coil, where one end should be longer than the other for easier assembly.
Step 2: Mount the Coils in Your RDA
Separate the juice tank and the base of your RDA. Connect the base to your ohm meter. Loosen the screws on the RDA’s posts and thread the ends of your coils into the holes. They should be positioned on opposite sides of the posts. After they are correctly placed, tighten the screws and use your wire cutters to trim off the excess wire as close to the posts as possible.
Step 3: Adjust and Test the coil
Gently heat them up to anneal them, making them easier to adjust. Use your ceramic tweezers to pinch and properly position the coils, ensuring they are centered over the RDA’s base. Each of them should heat evenly without touching the base. Check the resistance with the ohm meter and ensure it is within safe limits for your battery or mod.
Step 4: Wick and Finish
Choose organic, unbleached cotton for the best flavor experience. Cut the cotton into elongated strips and thread them through the coils. Trim and position the cotton so it reaches the bottom of the juice tank. Wet the cotton with vape juice to prepare it for use. Reassemble the tank and connect your RBA to your mod.
Extra Tips and Tricks
- Always ensure that your tools and hands are clean to avoid contaminating the cotton.
- Experiment with different types of resistance wire and cotton to find the combination that best suits your taste and vaping style.
- Regular maintenance and cleaning of your RBA improve performance and lifespan.
- If the resistance is too low, try increasing the number of turns on your coil or using a thicker wire.
Our Range and Expertise
In our webshop, you will find a wide range of products suitable for various types of vaporizers and user needs. Our coils are carefully selected to ensure the highest quality and performance. Whether you are new to vaping or an experienced user, we have everything that meet your requirements.
Investing in Quality for the Best Vaping Experience
Choosing the right product is crucial to ensure an optimal vaping experience. At premiumvape.se, we understand the importance of quality and offer only products we would use ourselves. Our passion for vaping is reflected in every product we select for our store.
Why Choose Coils from premiumvape.eu?
Our commitment to quality, combined with our extensive knowledge of vaping, makes us the obvious choice for your e-cigarette needs. Explore our range today and experience the difference with premium coils from premiumvape.eu


